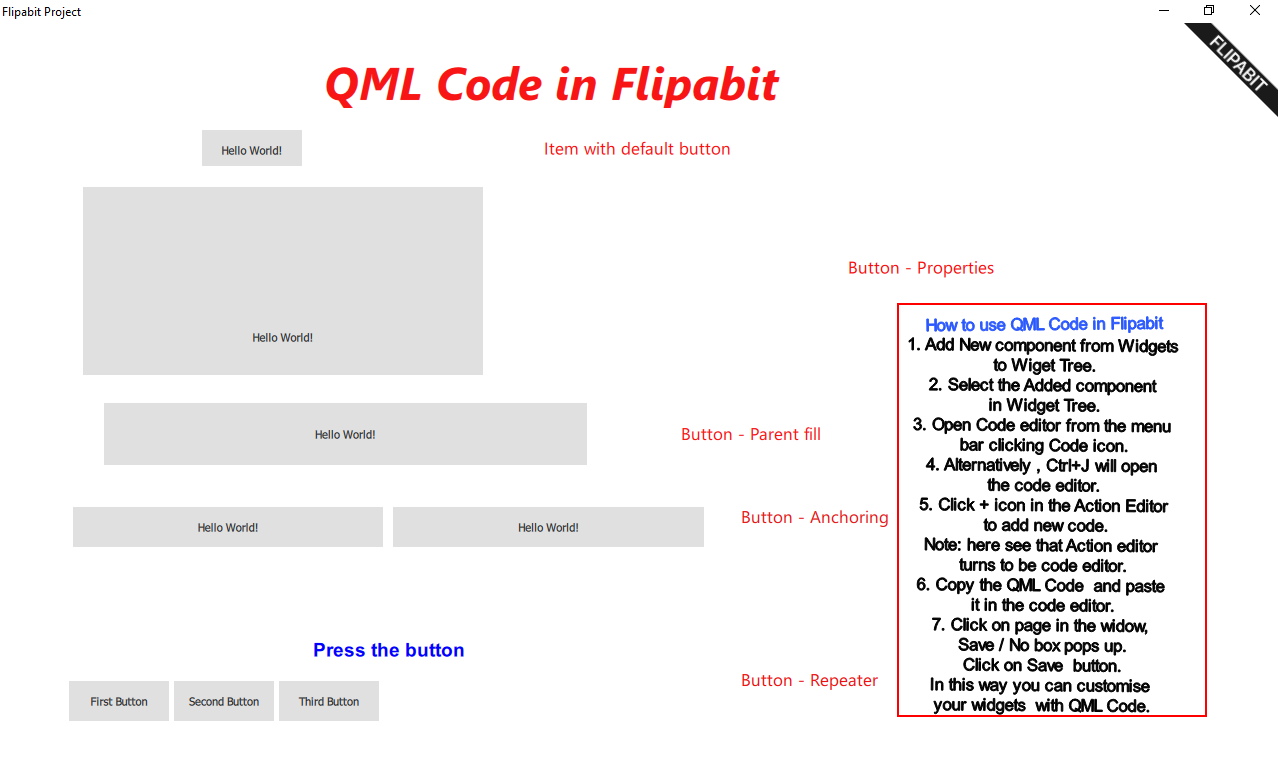
This time, I will tell you about several elements of QML. Elements allow you to build the user interface of an application. The very first and perhaps the most important element in FLIPABIT is the Item.
Item{} in QML is a basic type of element that serves as a simple container for other elements. It is most commonly used as the main building block of the interface in QML, as it allows for the organization and structuring of other components and visual elements. Each of your applications has a whole hierarchy of elements.
Writing code in FLIPABIT is required only in two cases:
- You want to create your own component.
- The program lacks solutions for your business process.
One more thing: a component can be either visual or non-visual, although in the case of FLIPABIT, the component container is always visual. It’s not necessary to use the new component function to write your own subroutine (component).

You can use any ready-made component to write code.
Let’s start with a regular button.
import QtQuick 2.15
import QtQuick.Controls 2.15

Item{
    Button {
        text:"Привет мир!"
    }
}
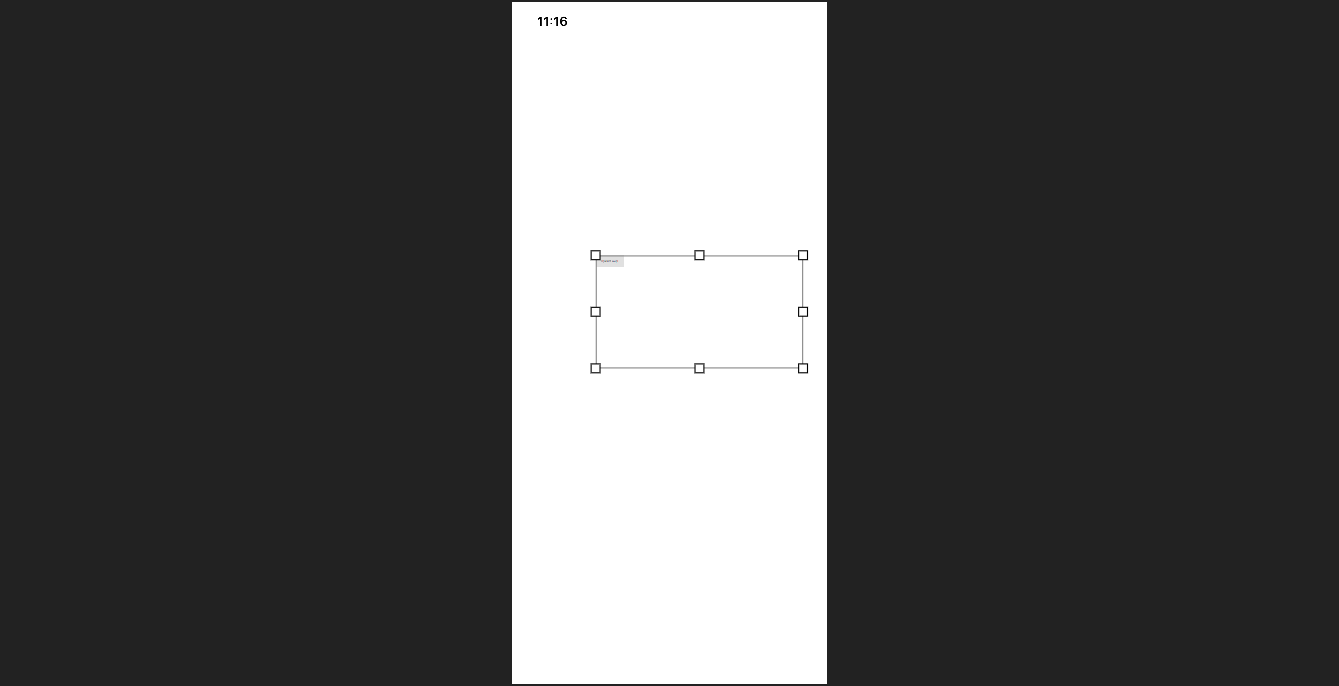
In this example, a button is created within the Item{} container, and its properties are set to default, but we can change them.
import QtQuick 2.15
import QtQuick.Controls 2.15

Item{
    Button {
        width: 400
        height: 300
        text:"Привет мир!"
    }
}
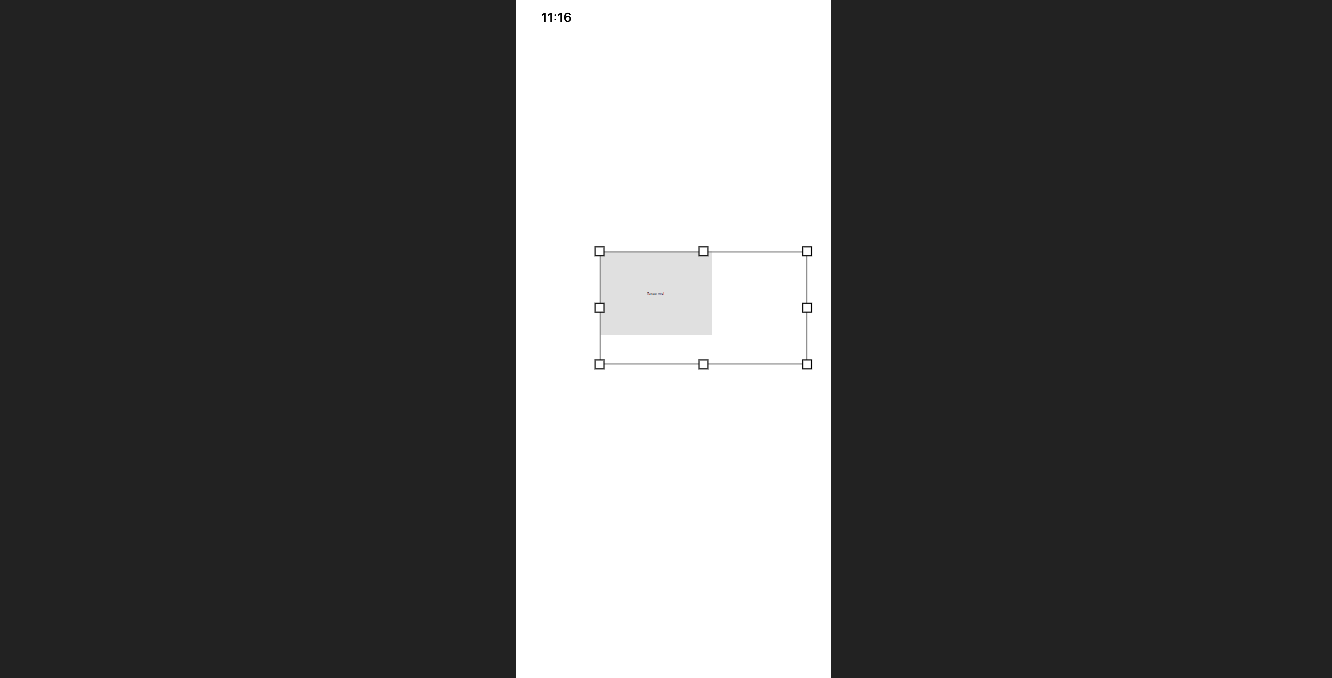
This is how we add new properties to the button. In this example, we changed its size. We can also fill the entire space of the container using anchors.fill: parent.
import QtQuick 2.15
import QtQuick.Controls 2.15

Item{
    Button {
    anchors.fill: parent
    text:"Привет мир!"
    }
}
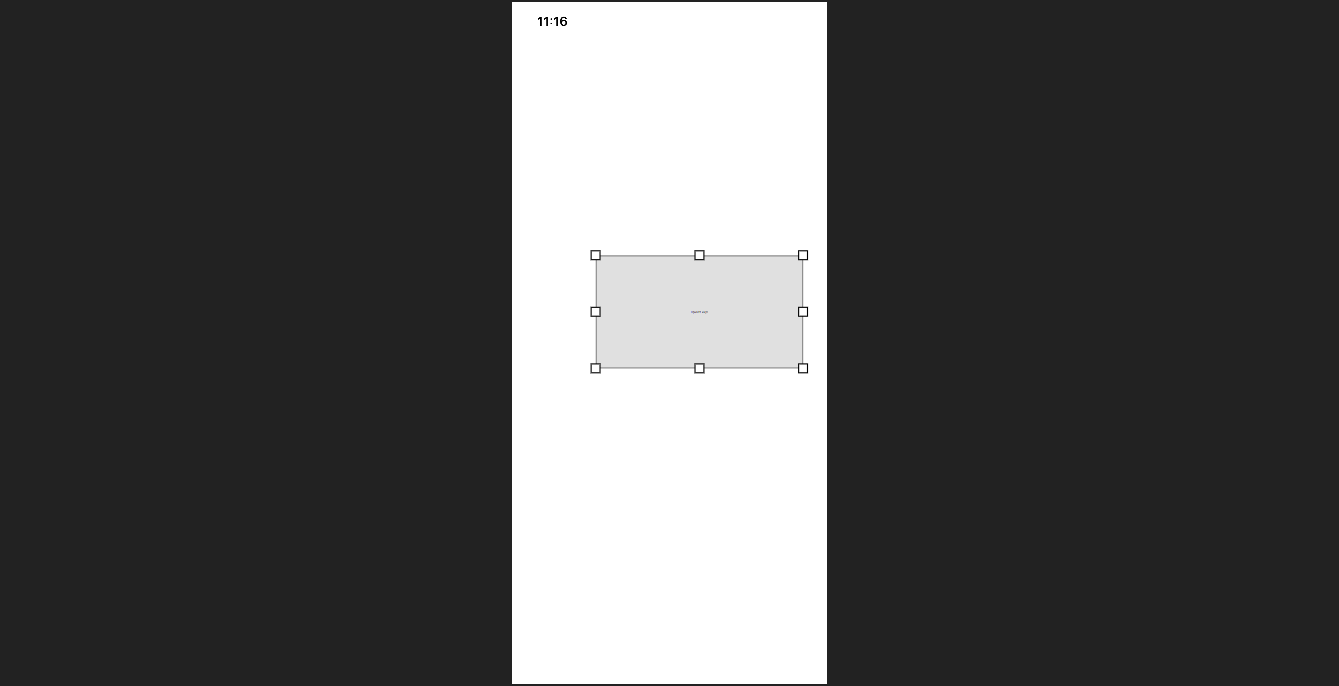
Now the button will be the same size as the parent container.
With the same success we can fill either only the width or only the height of the parent element width: parent.width, height: parent.height, and also without problems and unnecessary calculations fix the button in the middle of the element anchors.centerIn: parent.
Each element can be given its own identifier, so you can easily access the elements without using long structures and paths.
import QtQuick 2.15
import QtQuick.Controls 2.15

Item{

    Button {
	    id: buttonOne
	    anchors.left: parent.left
	    anchors.bottom: parent.bottom
	    width: parent.width / 2 - 5
        text:"Привет мир!"
    }
    Button {
	    id: buttonTwo
	    anchors.right: parent.right
	    anchors.bottom: parent.bottom
	    width: parent.width / 2 - 5
        text:"Привет мир!"
    }
}
Since these are buttons, they should at least respond to a click and perform some action.
import QtQuick 2.15
import QtQuick.Controls 2.15

Item{
    Text {
        id: myText
        text: "Нажмите на кнопку"
        font.family: "Arial"
        font.pointSize: 14
        font.bold: true
        color: "blue"
        wrapMode: Text.WordWrap
        horizontalAlignment: Text.AlignHCenter
        verticalAlignment: Text.AlignVCenter
        lineHeight: 1.5
        anchors.centerIn: parent
    }
    Button {
        id: buttonOne
        anchors.left: parent.left
        anchors.bottom: parent.bottom
        height: 40
        width: parent.width / 2 - 5
        text:"Привет мир!"
        onClicked: {myText.text = text}
    }
    Button {
	    id: buttonTwo
	    anchors.right: parent.right
	    anchors.bottom: parent.bottom
	    height: 40
	    width: parent.width / 2 - 5
        text:"Пока мир!"
        onClicked: {myText.text = buttonTwo.text}
    }
}
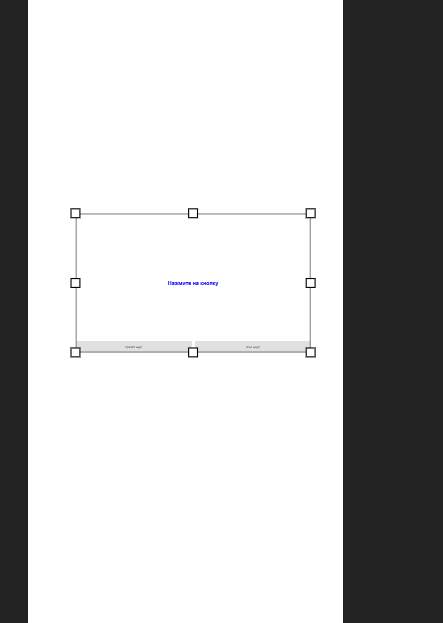
I added a Text{} element, anchored it to the middle of the container, positioned the buttons at the bottom of the container, and attached a mouse click event handler to the button. Now let’s break down the operation specified in the click handler.
onClicked: {myText.text = text}
onClicked: {myText.text = buttonTwo.text}Both variants assign a new value to the text property of the Text{} element. As you may have noticed, in the first assignment variant, only a reference to the text property is used. If the property that you want to assign to element B is located within element A, then specifying the full path or referencing the identifier is not necessary—simply specify the property name. However, if the assigned value is located in another element, you need to provide a reference to it via the element’s identifier, and this rule also applies in the opposite direction.
Let’s try a different option.
import QtQuick 2.15
import QtQuick.Controls 2.15

Item{
    property string myVar: "Нажмите на кнопку"

    Text {
        id: myText
        text: myVar
        font.family: "Arial"
        font.pointSize: 14
        font.bold: true
        color: "blue"
        wrapMode: Text.WordWrap
        horizontalAlignment: Text.AlignHCenter
        verticalAlignment: Text.AlignVCenter
        lineHeight: 1.5
        anchors.centerIn: parent
    }
    Button {
        id: buttonOne
        anchors.left: parent.left
        anchors.bottom: parent.bottom
        height: 40
        width: parent.width / 2 - 5
        text:"Привет мир!"
        onClicked: myVar = text
    }
    Button {
	    id: buttonTwo
	    anchors.right: parent.right
	    anchors.bottom: parent.bottom
	    height: 40
	    width: parent.width / 2 - 5
        text:"Пока мир!"
        onClicked: myFunction(text)
    }
    function myFunction(text){
        myVar = text;
    }
}
In this example, I used the myVar variable to display the text.
onClicked: myVar = text
onClicked: myFunction(text)Again, we have two options for handling the click. In the first case, I simply assigned a value to a variable, while in the second case, I called a function and passed it a value which the function then assigned to a variable.
But what if we need a lot of buttons, right, we will use repeater
import QtQuick 2.15
import QtQuick.Controls 2.15
import QtQuick.Layouts 1.12

Item{

Text {
        id: myText
        text: "Нажмите на кнопку"
        font.family: "Arial"
        font.pointSize: 14
        font.bold: true
        color: "blue"
        wrapMode: Text.WordWrap
        horizontalAlignment: Text.AlignHCenter
        verticalAlignment: Text.AlignVCenter
        lineHeight: 1.5
        anchors.centerIn: parent
    }

    RowLayout {
        anchors.bottom: parent.bottom
        Layout.alignment: Qt.AlignHCenter
        Layout.fillWidth: true
        Repeater {
            model: ["первая кнопка", "вторая кнопка", "третья кнопка"]
            Button {
                text: modelData
                onClicked: myText.text = text
            }
        }
    }
}
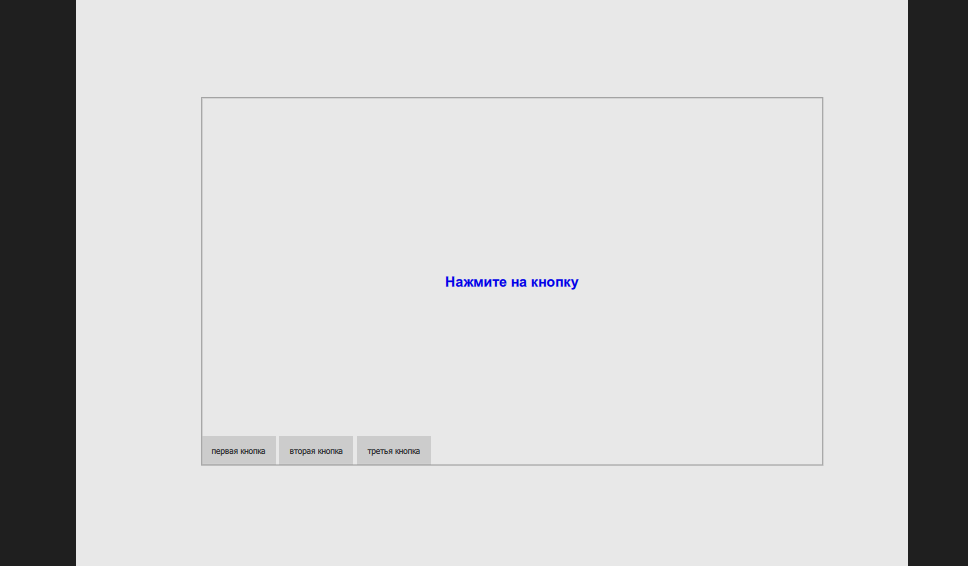
In this example, I used elements such as RowLayout, Repeater, and Model.
RowLayout - This is a powerful tool for creating horizontal layouts in QML. It allows easy management of element placement, provides flexibility, and supports adaptive interfaces, making it indispensable when developing applications with Qt.
Repeater - This element repeats a specified item, creating multiple instances based on an array of data from the Model.
Model - This is a basic element for all data models.
